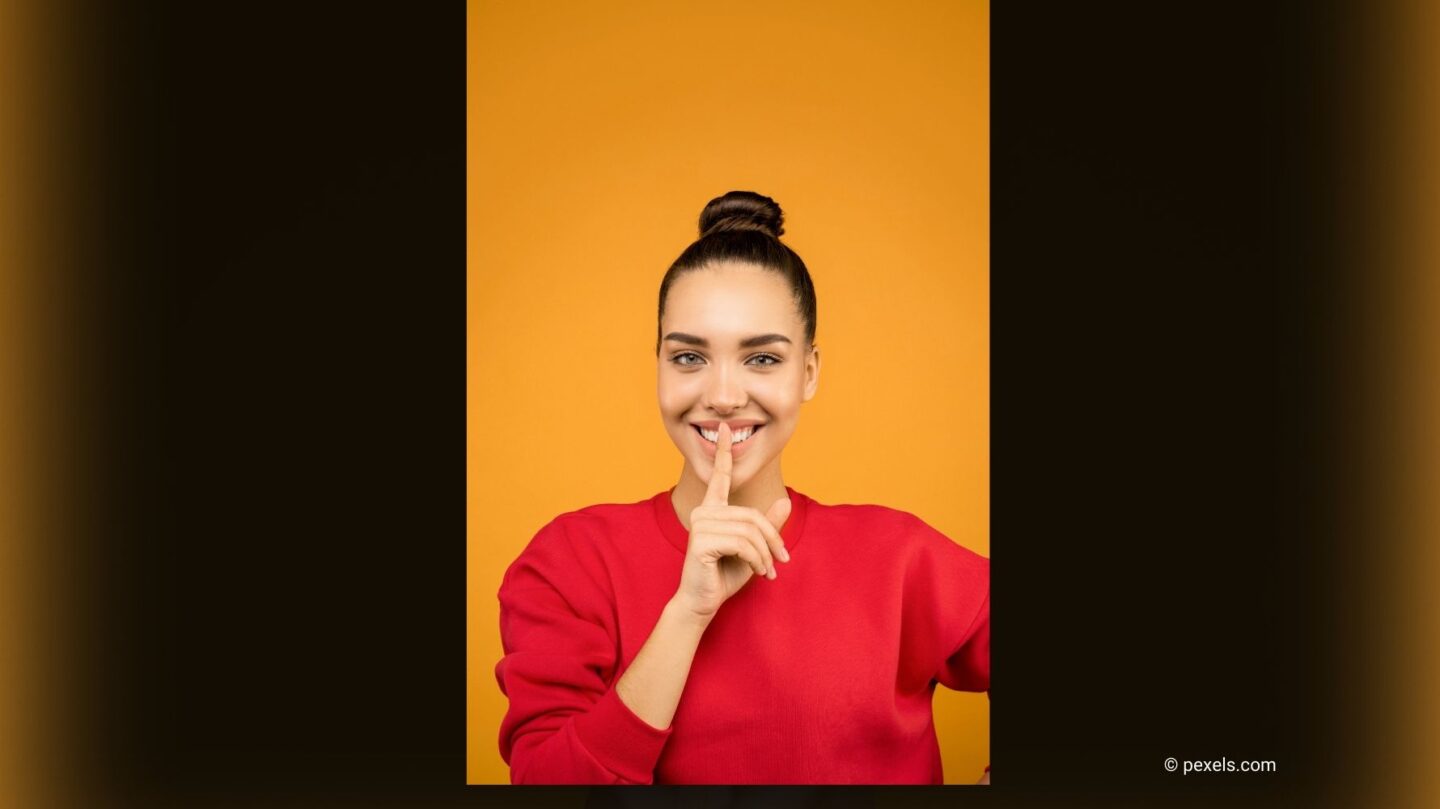
Creating the perfect bun at home doesn’t have to be a daunting task. Whether you’re going for a sleek look for a formal event or a messy bun for casual days, this timeless hairstyle is versatile, elegant, and easy to achieve with the right technique. Follow these steps to master the art of creating the perfect bun.
1. Gather Your Tools
Before starting, make sure you have all the necessary tools ready. Having the right equipment makes styling your bun much easier and helps achieve a polished look. You’ll need:
- A hairbrush or comb
- Hair ties
- Bobby pins
- Hairspray or styling gel
- A bun maker or sock (optional for added volume)
Having these tools at hand will ensure your bun stays secure and looks great throughout the day.
2. Prep Your Hair
Preparation is key to achieving a long-lasting bun. Start by brushing your hair to remove tangles and knots. Depending on the style of bun you want:
- For a Sleek Bun: Apply a small amount of styling gel or smoothing serum to tame flyaways.
- For a Messy Bun: Skip the gel and let your natural texture shine, or use a texturizing spray for added volume.
If your hair is freshly washed, it might be too slippery to work with, so lightly mist it with dry shampoo for extra grip.
3. Choose Your Bun Style
Decide on the type of bun you want to create. Here are two popular options:
- High Bun: Perfect for a bold, chic look. Ideal for formal events or a polished everyday style.
- Low Bun: A more relaxed, elegant option that sits at the nape of your neck. Great for casual outings or romantic occasions.
Your choice will determine where you secure your ponytail in the next step.
4. Create a Ponytail
Gather your hair into a ponytail at the desired height for your bun. Use a hair tie to secure it tightly. For a high bun, position the ponytail at the crown of your head. For a low bun, secure it close to the nape of your neck.
Tip: If you’re using a bun maker or sock, slide it over your ponytail before moving to the next step.
5. Form the Bun
Here’s how to shape your bun, depending on your chosen style:
- Classic Bun: Twist your ponytail and wrap it around the base. Secure the bun with bobby pins, ensuring all loose ends are tucked in.
- Messy Bun: Divide the ponytail into sections, teasing each one lightly for volume. Then wrap the sections around the base randomly, pinning them in place for a relaxed, effortless look.
- Voluminous Bun: If you’re using a bun maker, spread your hair evenly around it, tucking the ends underneath and securing them with bobby pins.
6. Secure and Set
To ensure your bun stays in place all day:
- Use additional bobby pins to secure any loose strands.
- Finish with a light mist of hairspray to set the style and tame flyaways.
For a sleeker finish, smooth the sides and back with a comb or your hands. For a softer look, pull out a few face-framing strands.
7. Add Finishing Touches
Personalize your bun with accessories like:
- Hair clips or pins for a touch of elegance.
- A scrunchie or ribbon for a playful, casual vibe.
- Floral accents for weddings or special events.
These small additions can elevate your bun and make it unique to your style.
A Style That Never Fails
With these simple steps, you can create the perfect bun at home, no matter the occasion. Whether it’s for a workout, a meeting, or a formal event, this versatile hairstyle is a go-to for anyone looking for a quick, chic solution. Practice a few times, and you’ll have a salon-worthy bun in no time!
